Dmitri
Academy Player
- Joined
- Mar 26, 2021
- Messages
- 23
- Reaction score
- 38
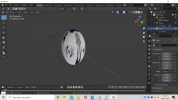
OTools is a set of tools for importing/exporting EA Sports model format (.o).
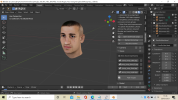
OTools provides an ability to convert .O files into 3d-software-friendly file format (GLTF), and also to convert 3d file formats (GLTF, FBX, OBJ etc.) into .O. It also provides additional functionality, such as packing and unpacking .FSH files.
Since version 0.171, an experimental support for EA Rugby games (Rugby 2005; Rugby 06; Rugby 08) was added.


Source code: bitbucket.org/fifam/otools
Downloads: bitbucket.org/fifam/otools/downloads/
Basic guide: bitbucket.org/fifam/otools/wiki/Scene_setup
Editing Rugby series guide: bitbucket.org/fifam/otools/wiki/Editing%20Rugby%20series
OTools provides an ability to convert .O files into 3d-software-friendly file format (GLTF), and also to convert 3d file formats (GLTF, FBX, OBJ etc.) into .O. It also provides additional functionality, such as packing and unpacking .FSH files.
Since version 0.171, an experimental support for EA Rugby games (Rugby 2005; Rugby 06; Rugby 08) was added.
Source code: bitbucket.org/fifam/otools
Downloads: bitbucket.org/fifam/otools/downloads/
Basic guide: bitbucket.org/fifam/otools/wiki/Scene_setup
Editing Rugby series guide: bitbucket.org/fifam/otools/wiki/Editing%20Rugby%20series